Whoa, that's intense, dude!
In-tents, that is.

Two years ago, I made this tent for my cat: http://fabricoftime.blogspot.com/2013/11/neils-tent-what-to-do-when-you-have-too.html, and all three of my cats loved it so much that I had to make more. The plans languished for a long time. It was surprisingly hard to find hula hoops to make the tent frames. After many months, I finally found some that were small and cheap enough, but the project languished even longer because it's frivolous and I always have more important sewing projects (sorry, cats).
Then one of my favorite blogs, Cation Designs, decided to host a cat themed sew-along this month: http://cationdesigns.blogspot.com/2015/09/introducing-put-cat-on-it-sew-along.html. I just read the post last week and was immediately inspired to make more cat tents. I hate to be a typical modern American and complain about how busy I am, but honestly, I am quite overwhelmed lately. However, this is such a simple project and the thought of participating in a sew-along in which I could connect with other cat loving sewists (as opposed to sewers, haha) really pushed me to get it done.
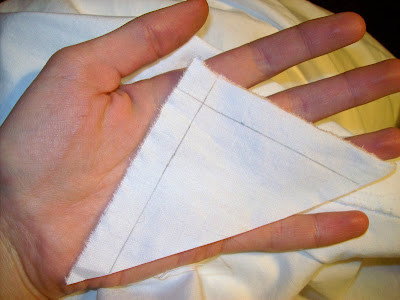
I figured out the design and construction the first time I made a tent, so the hard work was done. This time all I had to do was create the frames and sew the covers. I cut the hula hoops in half, drilled holes through the centers, and inserted wire to hold them together. I taped over the wire to keep it from snagging on fabric and cats. Then, I laid one side of a frame on a piece of paper to draw the triangular pattern piece.
I selected some printed cotton that would look tasteful, because cats need tasteful decor. I simplified my design and sewed everything with the seams on the inside and finished them with a zigzag stitch, as opposed to the elaborate bias tape bound seams of the first tent. It's beautiful, but not necessary, and it takes a lot of time to hand sew the bias tape. The new, simpler design is very efficient. It took me about a half an hour to create the frames and cut out the pattern pieces, then about an hour to sew both tents.
The new tents are smaller than the first. I didn't realize that until I cut the hula hoops, but I assumed it would work. Neil only uses about a third of the floor space in Tent #1 because he likes to curl up inside it. Tents 2 and 3 are a little small, but the cats seem to be okay with it. I'm so glad I finally made these, so they don't all have to fight over one tent. Thanks, Cation Designs!


Comments
Post a Comment