Circa 1860's sun bonnets

First, I researched what 19th century bonnets should look like. I wanted one for Civil War reenacting, but the styles typically span most of the 19th century. There are several images of originals that I found on Pinterest that did not lead to an existing website, so I did not include them here, but the following are some links to originals.
Corded bonnet, 1850-1890, Victoria and Albert Museum: http://collections.vam.ac.uk/item/O123591/bonnet-unknown/
Slatted bonnet, 19th century, Metropolitan Museum of Art:
http://www.metmuseum.org/collection/the-collection-online/search/116483
Corded bonnet, 1840, Metropolitan Museum of Art: http://www.metmuseum.org/collection/the-collection-online/search/169452
I also found some CDV's and daguerreotypes on Pinterest that appear to have been online auction items that have since been sold, so again, the original source is unavailable.


Aside from images, The Sewing Academy's tutorial on how to make a slat bonnet is useful: http://www.thesewingacademy.com/wp-content/uploads/2011/04/2010Slats.pdf I did not make this style, but there's some helpful information on construction.
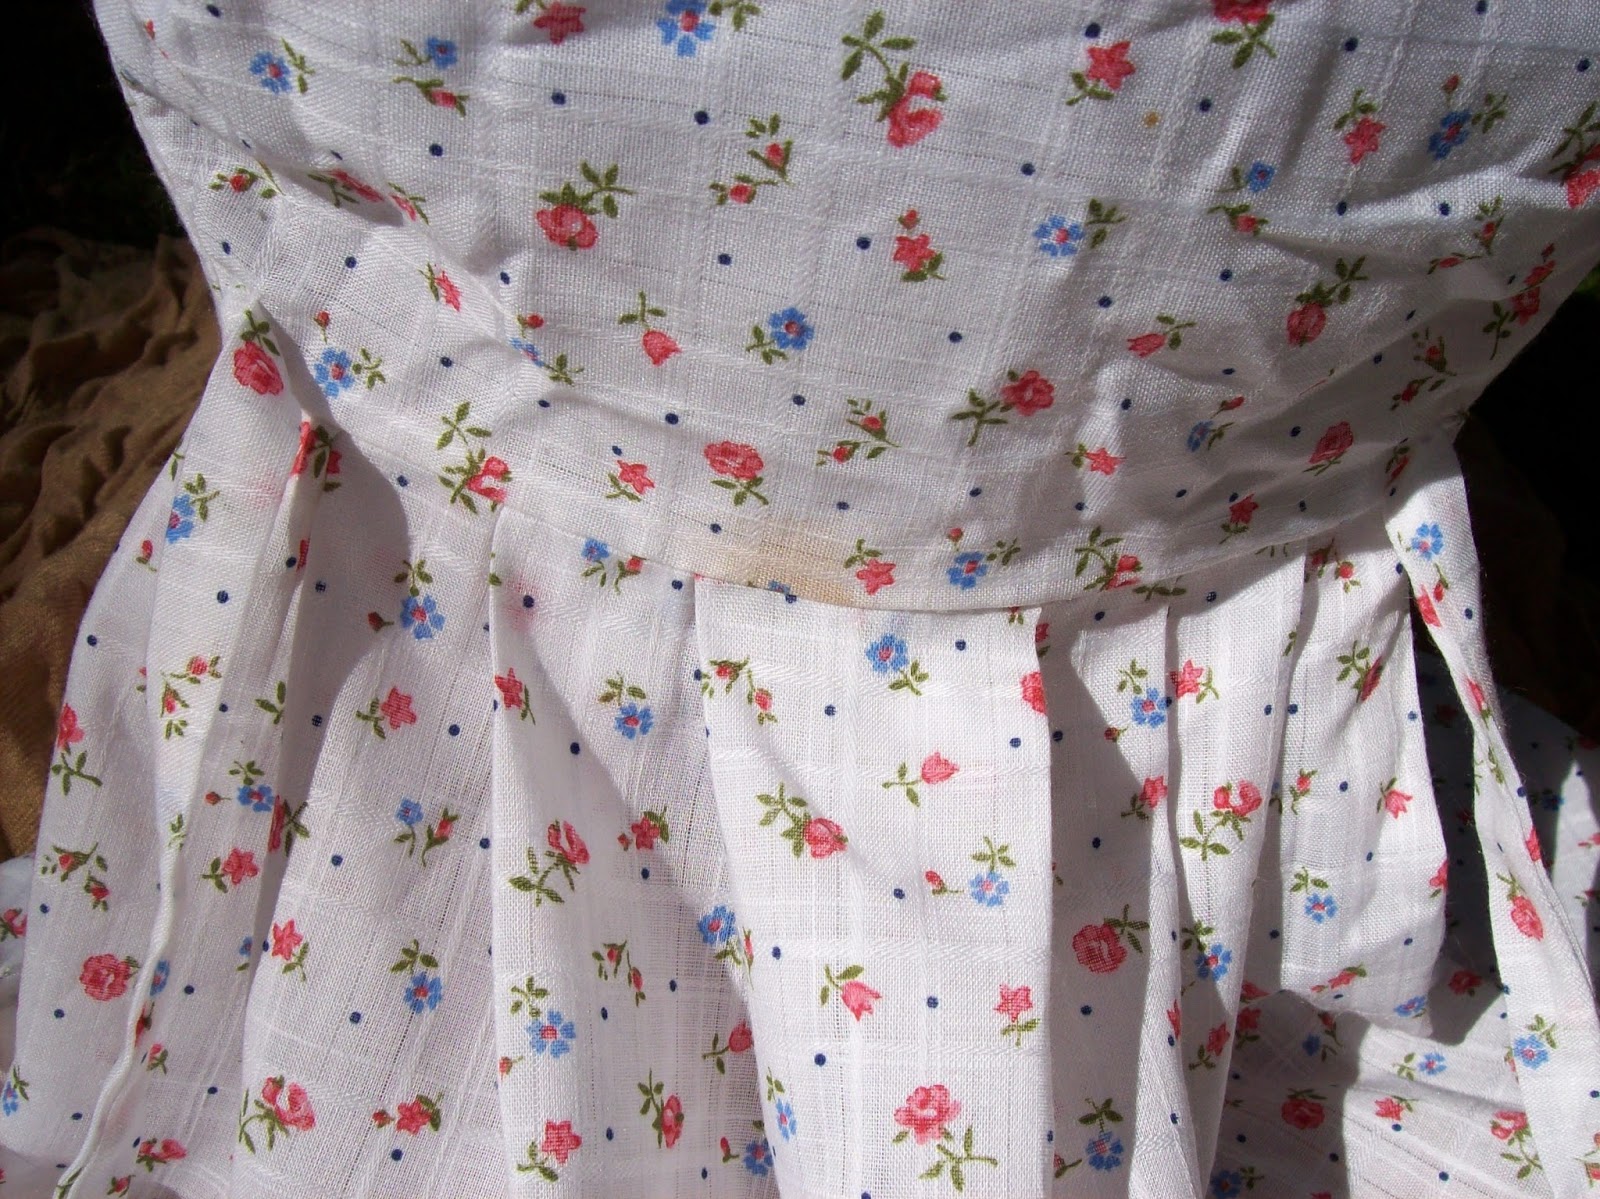
This white flowered bonnet is one that I made for myself right after making a nearly identical one for a friend. I liked hers so much that I used the same fabric to make mine! It's probably a poly-cotton blend, and the flower motifs might not be appropriate for the 19th century, but it's a lightweight sheer with a lovely woven windowpane pattern. The weight and color are ideal for staying cool. I cut the front part of the bavolet in one piece with the brim, so there are two layers of fabric there. It works, but I have since decided that it's better to cut the brim by itself and the bavolet in one long piece, attached to the bottom of the brim.


 |
| All of the slat channels are hand sewn |

 |
| Interior view |
 |
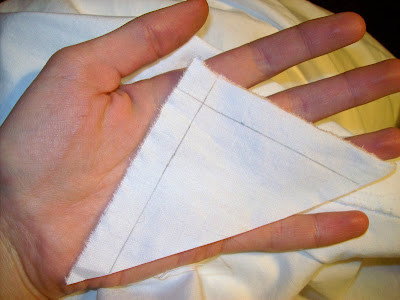
| Cardboard slats--I like to baste the channels closed; then the basting can be removed and the slats pulled out for laundering |
 |
| For storage, you can accordion fold the slats |
 |
| Next, roll the rest of the bonnet around the slats |
This green bonnet is one that I made after an acquaintance saw the one that I was wearing and requested a similar one. It was one of my first commissions, and I was thrilled that someone wanted to hire me! The color is not a good choice because it is so dark and would be hot to wear; it will also fade in the sunlight. However, my customer wanted to coordinate with a dress that she already had, and she chose this color. It's 100% cotton. Once again, I cut the brim and the front part of the bavolet as one piece.


 |
| Hand rolled hem :) |
 |
| Interior |
This sun bonnet is stiffened with buckram instead of slats. I was trying a new style. It worked great! I would do this again. It's a good style for a corded bonnet, so I'll attempt one in the future. It was a little hard to hand sew through the buckram. It's also a poly-cotton blend, free fabric in my stash, so not quite accurate. However, it's very light weight and a light color, so it would be comfortable for hot summer days.


 |
| I took this picture to show the hand quilting that holds the buckram in place, but it's barely visible. |
 |
| Inside of the bonnet |
These two are both poly/cotton blends--anachronistic, I know, but they were in my stash, inherited from a relative, and the patterns looked nice for historic accessories. Both of them are children's size, somewhat smaller than the adult size, but mostly the same in proportion and construction.


There are several details that I learned through trial and error:
-- Make the brim long enough to give shade, but not so long that you're looking through a mailbox.
-- The brim should end right at the jawbone. If it's too long, it will look odd and the ties will be around your neck instead of comfortably under your chin. If it's too short, the bavolet will fly up in your face at the slightest breeze. I see that mistake a lot: a brim whose slats only come down to the eyes or nose.
-- The neck ties should be positioned halfway along the lower edges of the brim for the most comfort.
-- It is helpful, but not necessary, to have ties at the nape of the neck to adjust the fit. Many people achieve this feature by putting a drawstring inside the bonnet.
-- The crown should be big enough to fit over your hair, but it it's too big, it looks disproportionate.
-- The bavolet can be any length. For a rugged work bonnet, a long bavolet protects the neck and the back of the dress.
All of these bonnets are my own patterns. There is minimal machine sewing. All visible stitches are hand sewn. I'm quite happy that I've learned how to make bonnets; they are beautiful and utilitarian accessories. Hope to make more in the future, now that I've worked out the problems!


Oh man.... How beautiful... You sure are talented... So I miss you and have just about forgotten how to tat.. I'm off to a heart quilt... Have all the hearts done .. Now the boring part.... Put together.. All by hand.. Hate machines... Keep me updated. Have great holidays..... And happy 2016
ReplyDelete