 |
| Close-up of cuff with top stitching |
The last shirt that I made was rather popular. Several people showed interest, and one
unsuspecting victim lovely gentleman requested that I make two shirts for him. Alas, he has waited a few months, and I've finally finished the first one. If only I had completed these before I started graduate school in January! This shirt is 100% linen and completely hand sewn with linen thread. As requested, it has linen thread buttons sewn onto the cuffs and collar.

For this project, I bought Larkin and Smith's "A Manual for the 18th Century Shirtmaker" (http://atthesignofthegoldenscissors.com/collections/18th-century-shirts/products/a-manual-of-18thc-shirtmaking), which I highly recommend. It is informative and the techniques are professionally researched by examining original garments, advertisements, and other primary sources. I have some minor criticisms which should NOT discourage anyone from using this manual, just be forewarned that some of the steps are not clearly explained. There are plenty of photos and diagrams, but some steps that do not have visual aids could really benefit from them. Ideally, one should try sewing a shirt alongside someone who has made one before, as there will be some instances of head-scratching. I humbly admit that my confusion might be because I am not an expert, but I do think this manual would be very frustrating for the beginner or intermediate sewasaurus.
 |
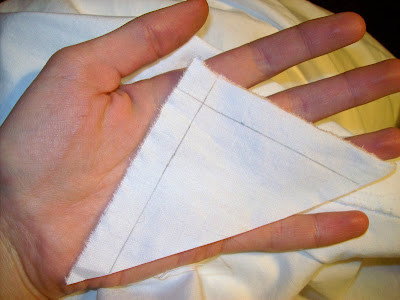
| Sleeve gussets--here you can see the inside of the sleeve gussets and the sleeve bindings that cover the armscye seams and reinforce the armscyes. |
One further issue is a specific problem in the size of the armscye. On page 42 of the manual, in the box titled "Soldier/Sailor/Workman 1750s-1780s," the instructions say, "Measure and mark 2 1/2 inches down from the pulled thread on each side. This will indicate where the gathers at the top of the sleeve will be placed and match up to marks on the sleeve." Next, page 46 describes how to prepare the sleeves, and the instructions state to mark "2 1/4 inches in from the side edge on either side at the top of the sleeve," which show where to sew stroke gathers. I attached the sleeve as per these instructions, but then the armscye was too small. It would have been very uncomfortable to have the shirt fit so tight in the armpit.
 |
| Armscye (interior view) |
To solve this problem, I removed the sleeve, unpicked the stroke gathers, and started over. I made my stroke gathers start 3 1/4 inches from the edges of the sleeve. Then, the total armscye opening, including the gusset in the armpit, equals about 20 inches around, and is very comfortable and looks normal (it had looked really strange when the armscye was smaller). The sleeve bindings just barely reached to the bottom of the armscyes after I enlarged the armscyes, and ideally the bindings should extend about an inch below that point so that they reinforce a high stress area. So, I HIGHLY RECOMMEND CUTTING THE SLEEVE BINDINGS 2 INCHES LONGER THAN THE INSTRUCTIONS DICTATE!!!!! You can always cut some fabric off later if they're too long. I don't know if this issue happened because I didn't understand the directions, or if there was a mistake, or if the armscyes are actually supposed to be tight (I doubt it).


The wristbands and the collar also have stroke gathering. I think I'm getting better at this technique. It's very precise. That's one of the items that Larkin and Smith show in great detail--their manual included photos of stroke gathers on original shirts and clear instructions on how to sew stroke gathers. Mine don't look distinct and crisp like they should be, but it is so hard to work on such a small scale! Each gathering stitch is sewn over four threads, and you have to count the threads with each stitch to make sure they're the right distance apart. I really need a magnifier lamp as this step was very difficult and strained my eyesight.
 |
| Shoulder straps |
 |
| Another view of the stroke gathers at the top of the sleeve and the shoulder strap |
 |
| The collar, the stroke gathers that attach the shirt body to the collar, and the neck gussets (interior view) |
 |
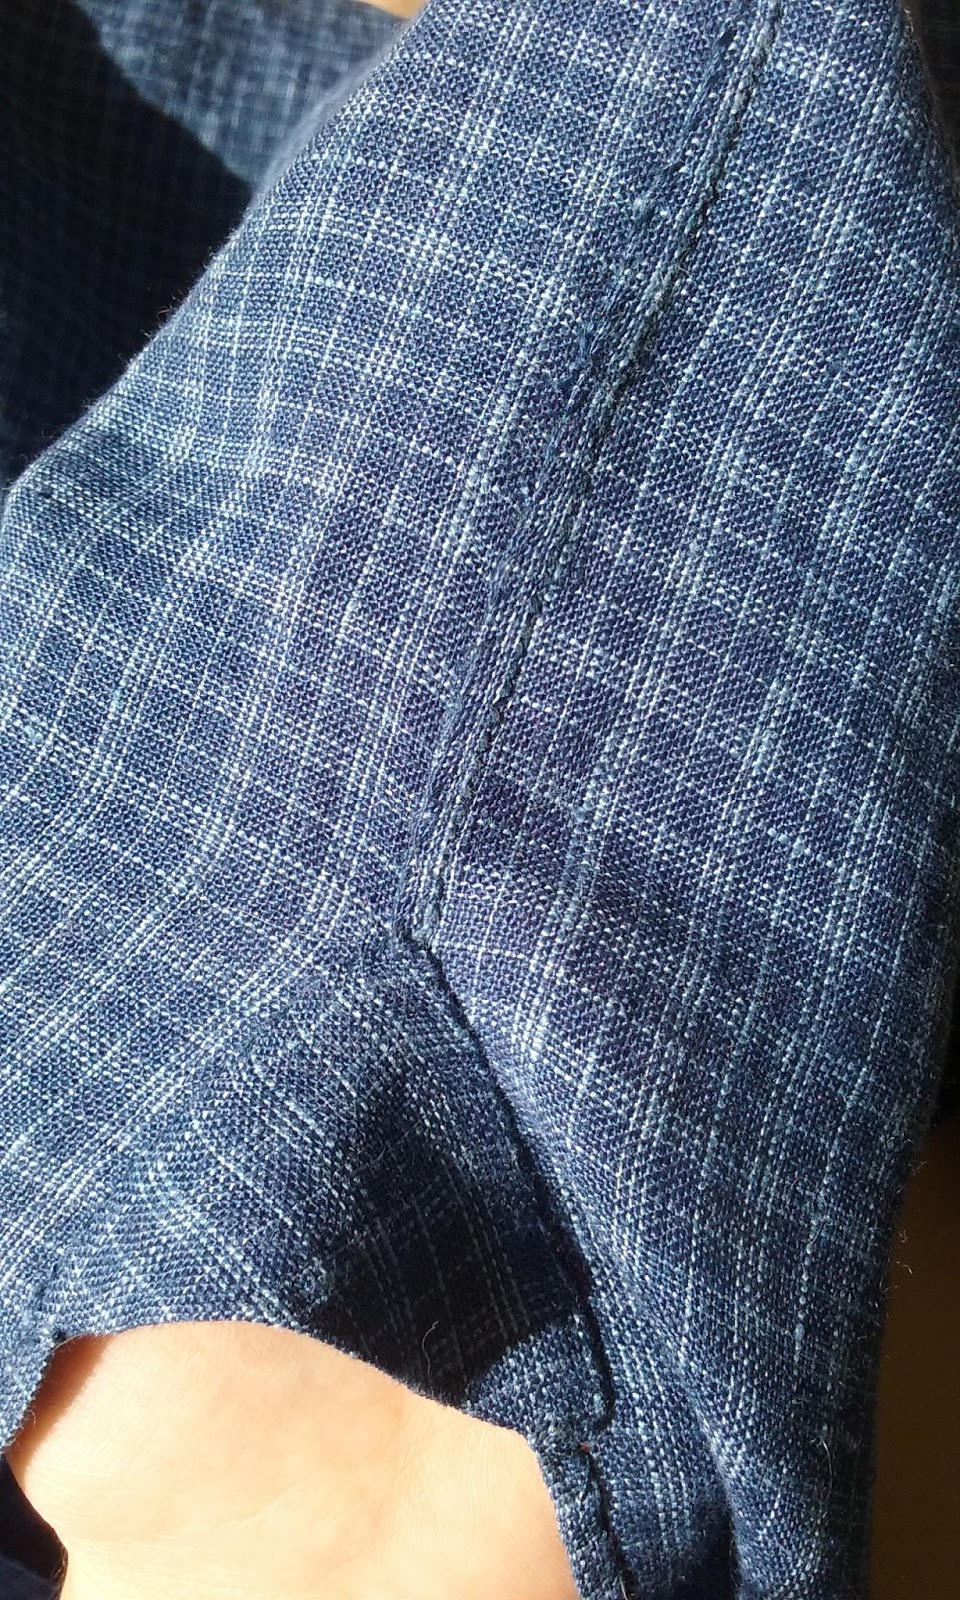
| This is a sleeve opening at the wrist--I back stitched the long seams and felled them to about 1/8 to 1/4" wide and rolled the edges of the opening. |
 |
| The side seams of the shirt are more narrow as I got better with practice. This one is about 1/8" wide. Larkin and Smith's instructions call for extremely narrow seams. This photo also shows a gusset at the side seam, which is whip stitched in place from both the front and the back; this method of insertion is quite different than what I would do when machine sewing. |
 |
| The shirt hem is rolled to 1/4" wide. |
 |
| Folded and ready for delivery! |
 |
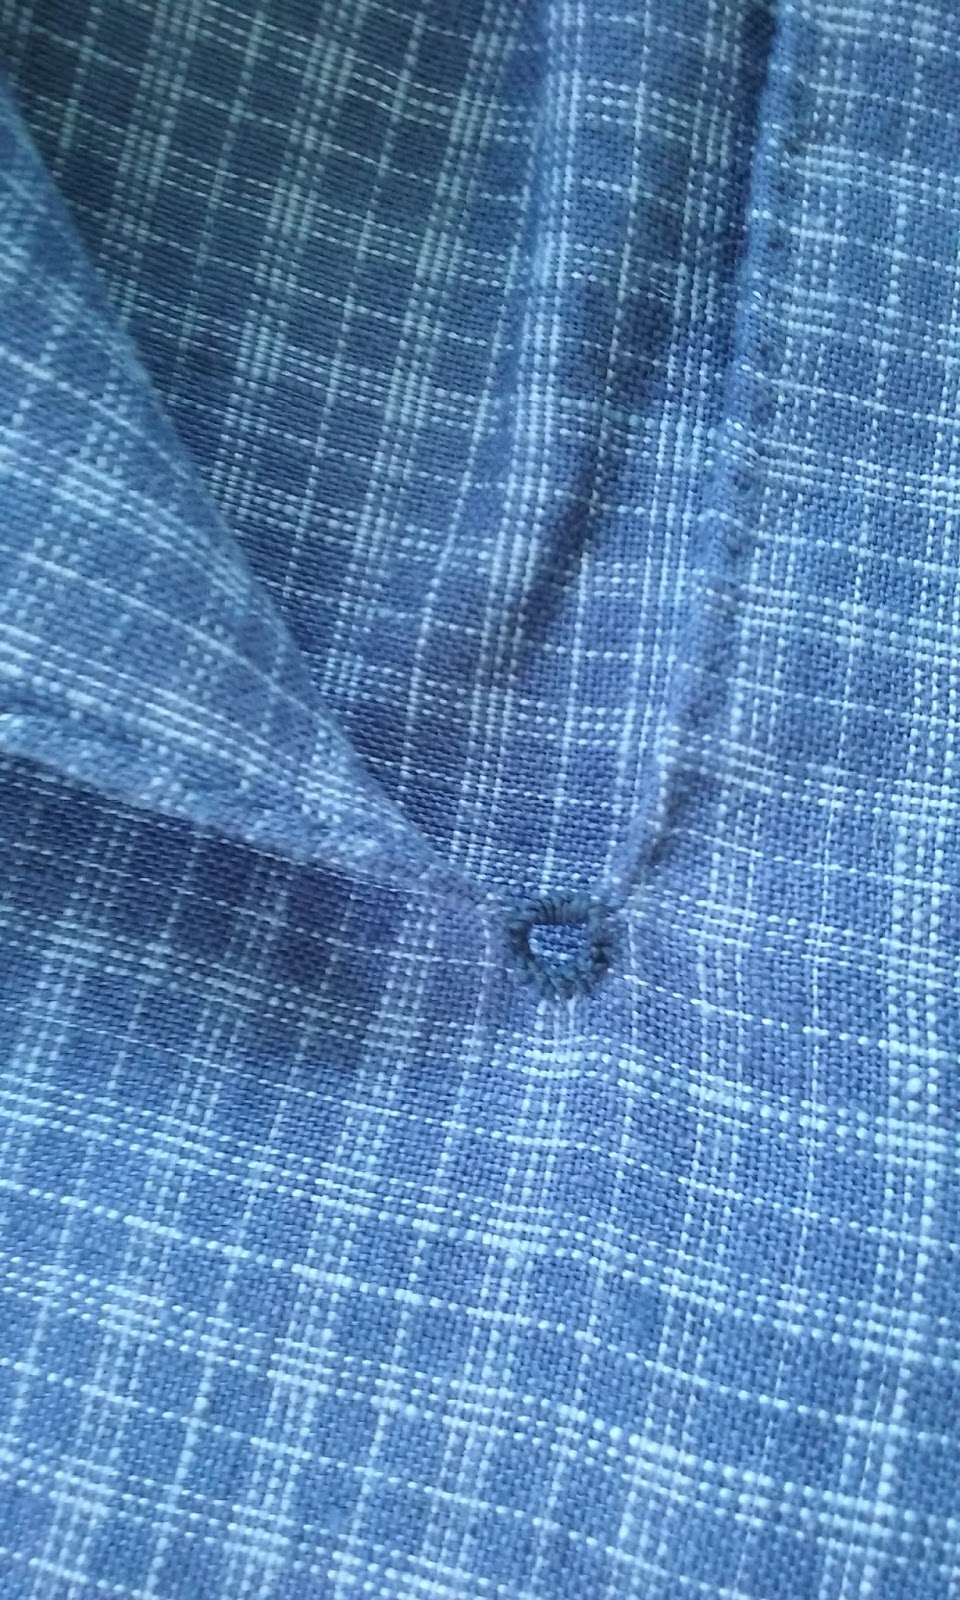
| Buttonhole stitches reinforce the bottom of the neckline. |
 |
| The neckline is rolled to a narrow 1/16". |
Despite the frustrations I faced, this shirt was a great learning experience. I enjoyed taking a half hour here and there to sew a few stitches in between working on classwork for my Master's Degree and fending off cats. A huge factor in timeliness (or lack thereof) is motivation to work on a project. I definitely let myself get discouraged and put this project aside too many times, but that will change as I get better at sewing and practice making more shirts.
Happy sewing, everyone!


I also had a very hard time understanding this pattern. I have many, many men’s reenacting shirts and sewen for many more years. I also do not recommend this pattern for beginning sewers. I would of liked to be able to have a resource to go to for the many questions I had. The reason the binding was not long enough was because of the lengthening of the armseye. I also had to lengthen my husband’s in the same place.
ReplyDeleteI chose this pattern as the shirts I made in the past were not hanging on my husband very well. The conclusion is that I was not making the neck slit wide enough, the collar long enough or putting the the collar gusset on. I am almost finished and did not completely hand stitch it only out of frustration and time involved trying to figure it out plus sewing it together. You may contact me at dangeiser at juno dot com if you would like. Thank you so much for recording your time in creating this shirt.
ReplyDeleteNice information! Thanks for Sharing
If you're searching for the perfect men’s solid shirt, look no further than the Frank Shirt. Designed with premium fabric and a tailored fit, it offers both style and comfort for any occasion. Whether for work or a weekend outing, this shirt delivers timeless appeal and all-day ease. Stop searching and start upgrading your wardrobe. Buy the Frank Shirt today and experience the confidence that comes with effortless style.