My Purple and Green Wool Dress
 While I have been following The Dreamstress (www.thedreamstress.com) and the
Historical Sew Fortnightly faithfully, I’ve been too busy to participate. I
have kept up with sewing, though, including historic sewing, and I think that
Leimomi Oakes has been a blessing to the online sewing community in encouraging
us in our creativity and productivity. I hope she oversees more such projects!
While I have been following The Dreamstress (www.thedreamstress.com) and the
Historical Sew Fortnightly faithfully, I’ve been too busy to participate. I
have kept up with sewing, though, including historic sewing, and I think that
Leimomi Oakes has been a blessing to the online sewing community in encouraging
us in our creativity and productivity. I hope she oversees more such projects!
I have accomplished a lot of sewing this year, mostly for
Civil War reenacting, since I am a new reenactor and am assembling a wardrobe
and supplies. It has been a learning curve, and I will probably continue to sew
things for myself as I learn more about historic accuracy. The things that I
have made so far are wonderful, but I tend to be self-critical and will want to
make sure my own belongings meet high standards before I sew for others. Thus,
I may replace things though I have mostly everything I need at the moment.

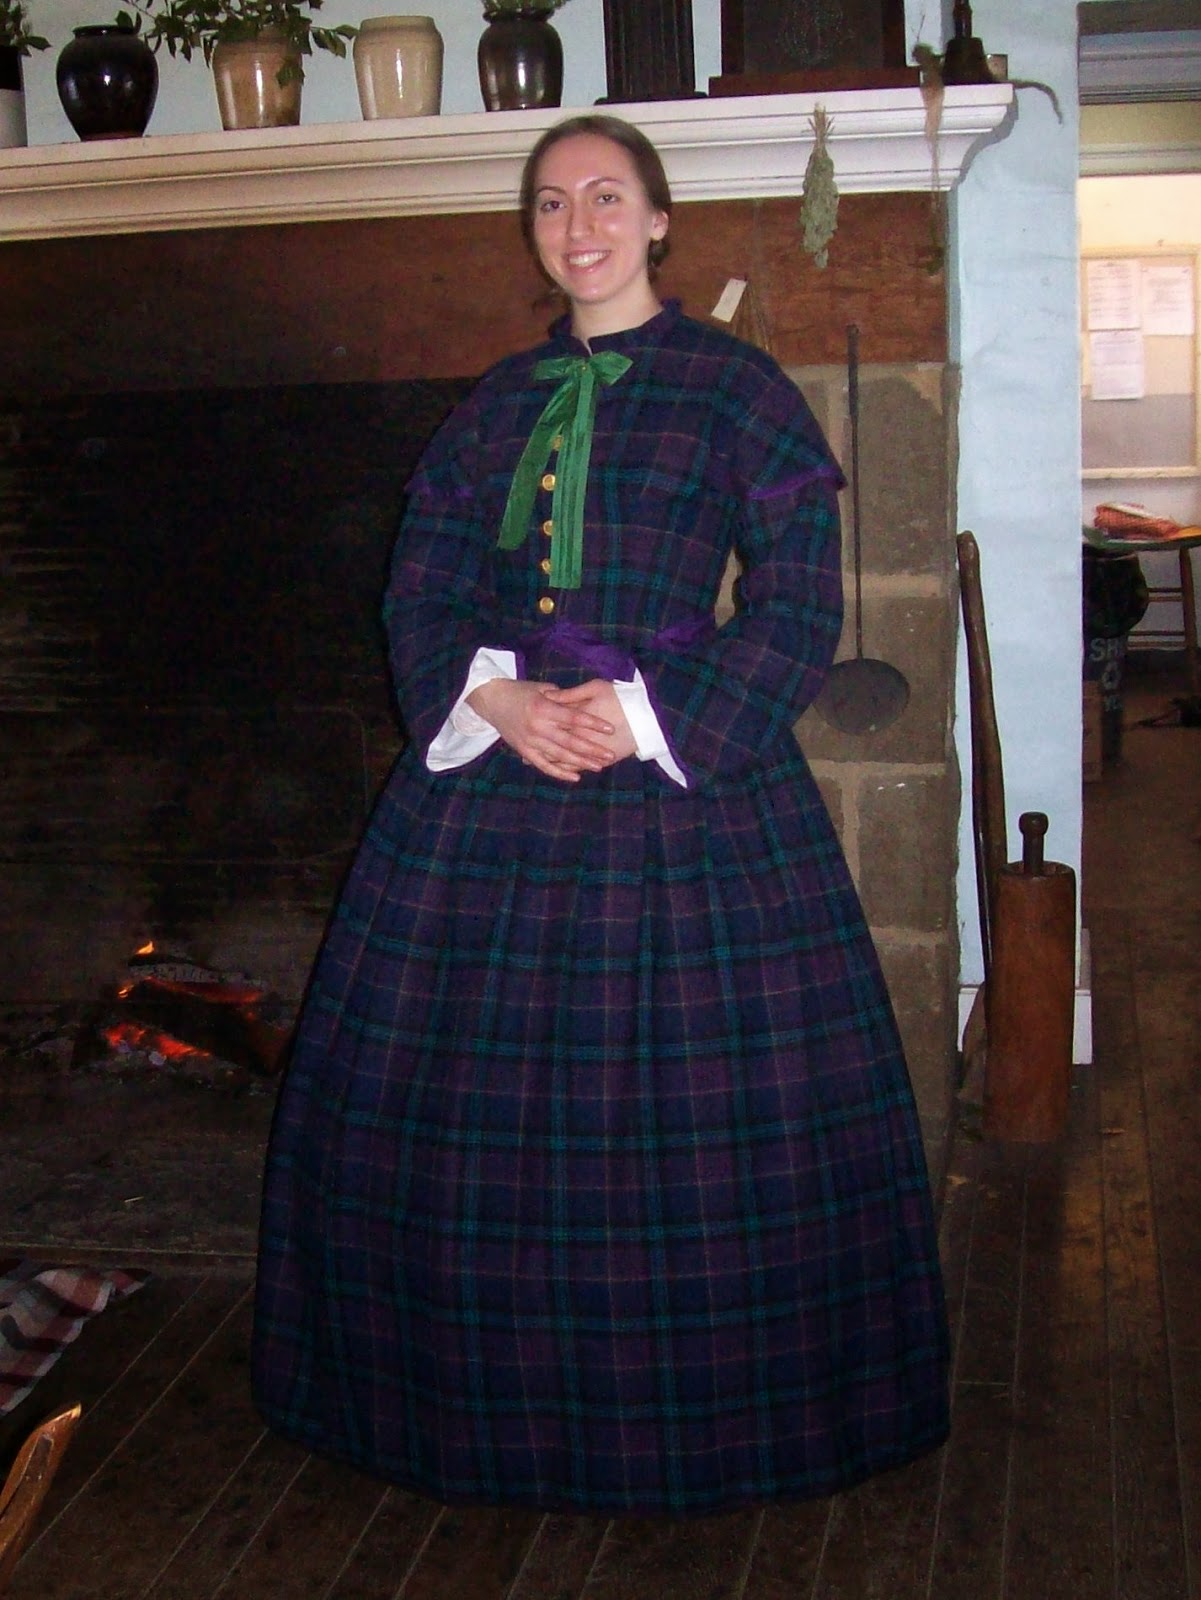
Last winter, I made a few essential reenacting items. My dear and generous brother bought some wool fabric for me: I found it on sale for $6 a yard! I think I got about six yards. It is coat-weight, mostly wool with some nylon content. I immediately began using it to make a warm 1860’s dress. Being somewhat under-educated about the details of historically accurate sewing, I based my dress on what I knew about the era from reading blogs, sewing forums, museum collection descriptions, and other reputable sources. I undertook the crazy idea of drafting my own pattern, which was difficult, but I spent so much time and effort on it to make the best of the experience. It was a great way to learn. Thankfully, my extreme care and patience made the effort worthwhile, and I succeeded in making a dress that I appreciate.
I looked at lots of photos and drew sketches of the style I
wanted. I chose coat sleeves cut in two pieces with a slight flare at the
wrist, topped with cap sleeves. The bodice has a W-shaped waistline and has two
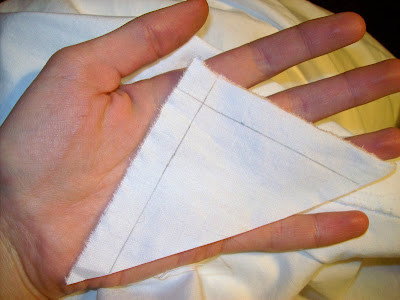
darts on each side. The back is fitted with angled curved seams. First, I drew
generalized shapes of pattern pieces on scrap fabric and basted them together. I
put the mock-up bodice on over my corset and pinned them to get proper fit and
proportion. I do not have a dressmaker’s dummy, so it was difficult, but the
method worked. Then, I traced the pieces to make a paper pattern.
 |
| Patterning the bodice |
My next hare-brained idea was to learn how to match plaids.
I had never done it before. I did some research and followed the standard
method. It was a painstaking process but the results were well worth the
effort. In order to match the plaid on both shoulder seams, I had to cut the
center back piece down the middle. The pattern at this seam did not match
perfectly, which I knew I had to sacrifice if I wanted the shoulder seams to
match. Therefore, I placed a double layer of piping at the center back seam (I
doubled it so that I could iron the seam open with the same thickness on both
sides). I also piped the other back seams and the armscyces. The purple piping
and the purple binding tape on the waist edge and the sleeves is made out of a
100% silk blouse that I bought at a thrift store for $1 U.S.
.JPG) |
| Basting on the silk piping |
The bodice is fully lined with white cotton broadcloth. The
side seams are exposed inside so that the bodice can be altered without taking
apart the lining. I used hook and eye tape to fasten the front opening; they
are inset so that the hooks and eyes are exposed but the tape is hidden between
the fashion fabric and the lining. I added a stand-up style collar. The decorative
touches are gold-looking buttons from my collection and a green silk ribbon
that I have had as long as I can remember. The bodice is a little poorly fitted
between the bust and the armpit, but otherwise not bad for a first attempt.

I love my wool dress; it is very warm and comfortable and
turned out just the way I envisioned. It was a great way to learn how to make
my own patterns (though I am no expert yet) and match plaids. I wore it to a
practice drill for my Civil War reenactment group’s soldiers. It was a snowy,
slushy day, so I was happy to have a wool dress!


Comments
Post a Comment